

Key Takeaways
Why Climate Zone Determines Your Weatherproofing Strategy
The US spans eight distinct climate zones as defined by the Department of Energy, ranging from the hot-humid Gulf Coast to the subarctic conditions of interior Alaska. What protects a Phoenix home from 115°F heat does little for a Minneapolis homeowner facing wind chills of -30°F. Understanding your zone is step one before spending a dollar on weatherproofing materials.
The Building America climate zone map — freely available from the Department of Energy — divides the country into categories including hot-dry, mixed-humid, cold, very cold, and marine. Each zone has different weak points: air infiltration, moisture intrusion, thermal bridging, or wind uplift. Consulting your zone before purchasing materials or hiring contractors ensures your investment targets the right vulnerabilities. Check our seasonal home maintenance checklist for a complementary timeline of when to tackle these tasks.
Core Practices That Apply Across All Regions
Regardless of geography, several fundamentals improve comfort and reduce energy costs in virtually every US home.
Seal air leaks at doors, windows, and penetrations before adding insulation
Air infiltration accounts for 25–40% of heating and cooling energy loss in a typical US home, according to the Department of Energy. Adding insulation without first sealing gaps means conditioned air continues escaping around the insulation rather than through it. Addressing leaks first maximizes every subsequent upgrade.
Upgrade attic insulation to meet your climate zone's recommended R-value
Heat rises, and an under-insulated attic is one of the most reliable sources of energy loss in American homes across nearly every climate. The DOE publishes recommended R-values by zone, ranging from R-30 in southern zones to R-60 in very cold climates. Meeting these targets reduces both heating and cooling loads.
Inspect and replace weatherstripping on all exterior doors annually
Weatherstripping degrades with use, UV exposure, and temperature cycling. Worn strips allow cold air, moisture, pests, and noise to infiltrate the home. Annual inspection — and replacement when compression is lost — is low-cost and high-impact.
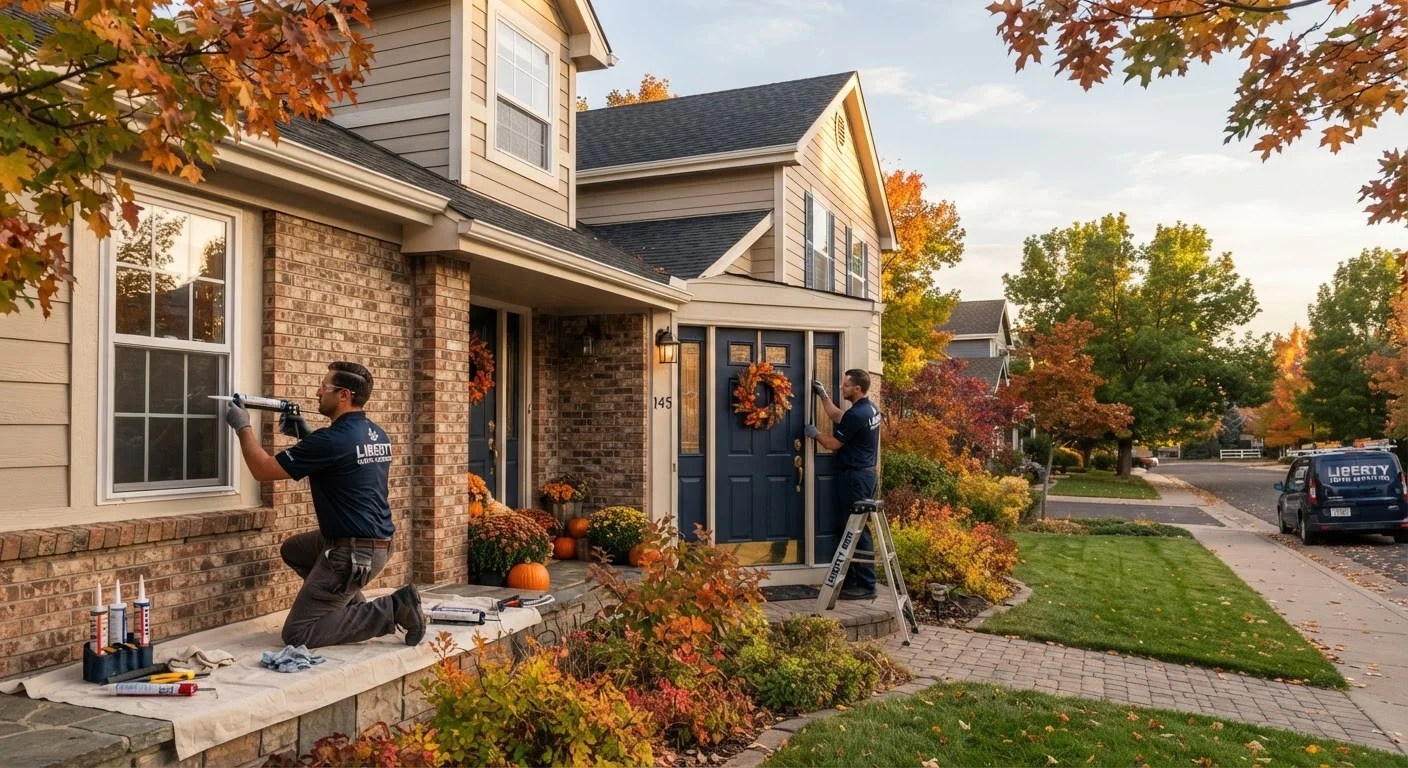
Caulk around all exterior window and door frames each autumn
Caulk shrinks, cracks, and separates over time, particularly at junctions between different materials such as wood trim and brick or siding. Seasonal reapplication before cold or wet weather arrives keeps these joints sealed and reduces both moisture infiltration and air leakage.
Insulate exposed pipes in unheated spaces throughout the home
Water pipes in crawl spaces, garages, and exterior walls are vulnerable to freezing in cold climates and to condensation-related corrosion in humid ones. Foam pipe insulation is inexpensive and straightforward to apply, offering meaningful protection against burst pipes and associated damage.
Region-Specific Priorities to Address
Once the fundamentals are handled, your climate zone dictates the next layer of protection.
Cold and Very Cold Zones (Upper Midwest, New England, Mountain West): Pipe insulation is non-negotiable. Uninsulated water pipes in unheated spaces — crawl spaces, garages, exterior walls — are vulnerable to freezing and bursting. The Insurance Information Institute notes that burst pipes are one of the most common and costly homeowners insurance claims in northern states. Attic insulation and ice-dam prevention measures — proper ventilation combined with adequate R-value insulation — are equally important. Note that improperly installed attic insulation can trap moisture and cause structural damage; consult a licensed insulation contractor for complex attic work.
Hot-Humid Zones (Gulf Coast, Southeast): Moisture control is the central challenge. Vapor barriers on crawl space floors, bathroom exhaust fans vented to the exterior (not the attic), and proper roof soffit ventilation all reduce the risk of mold and wood rot. Homeowners in hurricane corridors should ensure exterior door frames and garage doors are sealed to current wind-load standards — verify local building codes for specific requirements.
Hot-Dry Zones (Southwest, Desert regions): Radiant barriers in attics reflect solar heat gain and can meaningfully reduce cooling loads. Caulking around window frames and door surrounds also matters here, as intense UV exposure causes caulk to crack and crumble faster than in milder climates.
Marine and Mixed-Humid Zones (Pacific Coast, Mid-Atlantic): Damp, moderate climates require attention to exterior paint and cladding integrity to prevent moisture wicking into wall assemblies. Annual caulk inspections and prompt repainting of peeling surfaces are low-cost, high-impact measures.
Vapor Barriers: Placement Matters by Climate
Vapor barriers (or retarders) are widely misunderstood, and incorrect placement can trap moisture inside wall assemblies rather than repelling it. In cold climates, vapor retarders typically belong on the warm-in-winter (interior) side of insulation. In hot-humid climates, guidance is essentially reversed. The DOE and your local building department can confirm the correct approach for your zone. Always consult a licensed contractor before installing vapor barriers in wall or floor assemblies.
For homeowners navigating weather-related risks on the road as well, our guide on driving safely in rain, snow, and fog covers how weather changes what's expected of drivers in different conditions.
When to Call a Professional
Many weatherproofing upgrades — caulking, weatherstripping, door sweeps, pipe foam — are well within DIY reach. But several categories require licensed, qualified professionals:
- Roofing repairs involving decking, flashing, or structural elements
- Electrical work related to attic fans or exhaust ventilation
- Gas-fired appliance sealing or combustion air assessments
- Spray foam insulation in enclosed wall cavities
Permits may be required for certain insulation upgrades or ventilation modifications. Always verify local building department requirements before starting work. Inadequate weatherproofing that leads to structural damage may also affect homeowners insurance claims; review your policy and consult your insurer. See our insurance resource hub for guidance on understanding home coverage.
For a broader look at what maintenance tasks tend to get overlooked, see our guide to home maintenance tasks most owners forget — several overlap with weatherproofing readiness. And if you notice warning signs while inspecting your home, signs your home needs immediate attention can help you prioritize what to address first.
This article is for general informational purposes only and does not constitute professional construction, engineering, or legal advice. Requirements vary by locality — always verify local codes and consult licensed contractors for work involving structural, electrical, or gas systems.