

Key Takeaways
Summary
22 items · 15-30 minutes
Why a Pre-Trip Check Matters
Most vehicle breakdowns and roadside emergencies don't happen without warning-they follow weeks or months of ignored signals. A pre-trip vehicle inspection takes roughly 15 to 30 minutes and gives you a clear picture of your car's readiness before you commit to miles of highway or unfamiliar roads.
This checklist is part of the broader framework covered in Road Safety From Start to Finish, and it pairs well with the longer-term routines described in Habits That Extend the Life of Almost Any Vehicle. Think of it as the last line of defense before departure-not a substitute for regular maintenance.
Never Open a Hot Radiator Cap
Checking coolant levels with the engine still warm can result in scalding steam and hot fluid under pressure. Always let the engine cool fully-at least 30 minutes-before opening the radiator cap or coolant reservoir. If the temperature gauge reads high during your trip, pull over safely and allow the vehicle to cool before investigating.
Dashboard Warning Lights Are Not Optional
A check engine, oil pressure, brake, or tire pressure warning light that stays illuminated after startup signals a condition that needs attention before driving. Do not assume a persistent warning light is a sensor glitch and continue the trip. Consult your owner's manual to identify the symbol, and seek a qualified mechanic's assessment if the light remains on.
Use the tools and checklist groups below in sequence. The order is deliberate: start outside the car, work through mechanical systems, and finish with the cabin and emergency kit.
What You'll Need
Before you begin walking around the vehicle, gather the basic tools that make the inspection accurate rather than approximate.
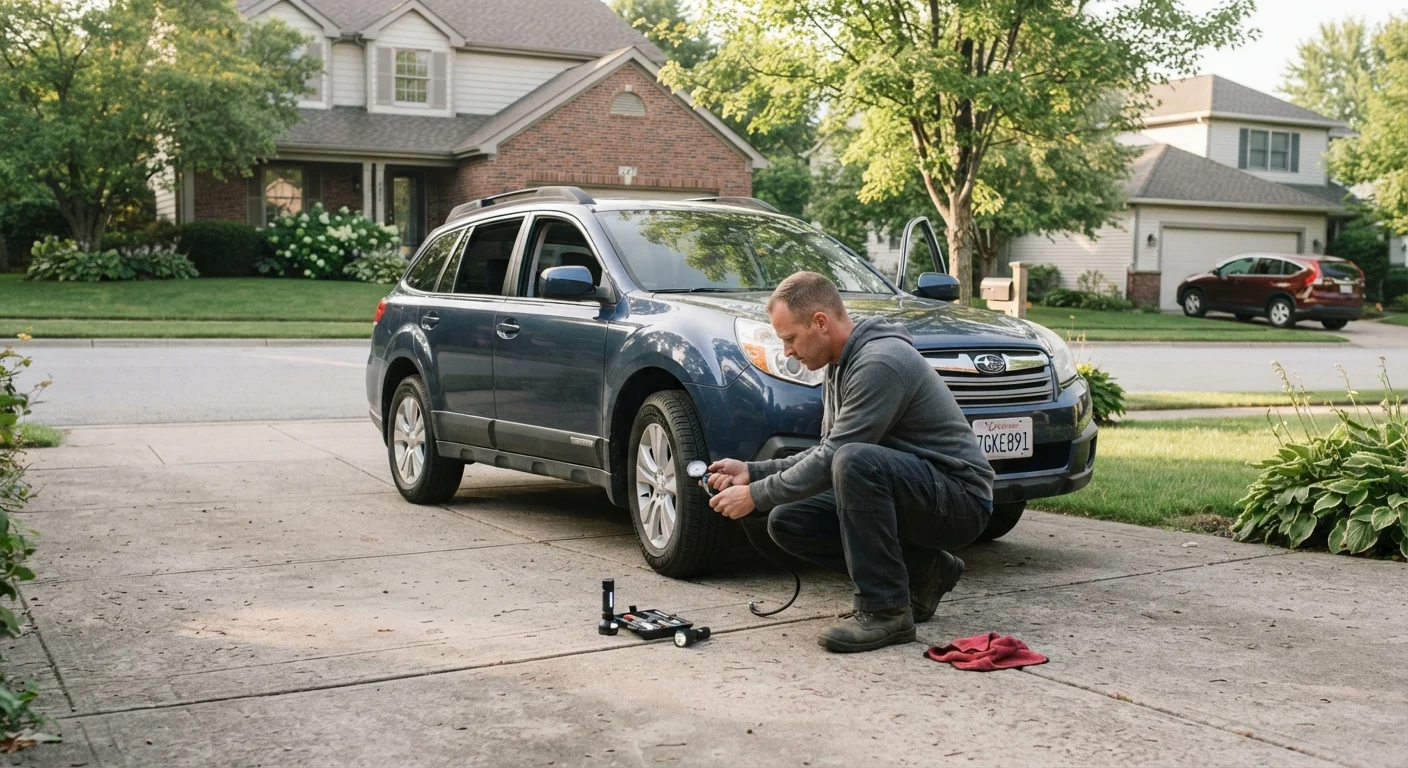
Tire Pressure Gauge
Measures tire PSI accurately so you can inflate to the vehicle manufacturer's recommended level.
Penny or Tread-Depth Gauge
Provides a quick visual or precise measurement of remaining tire tread depth.
Flashlight or Work Light
Illuminates engine bay components and underneath the vehicle when checking for leaks or wear.
Owner's Manual
Contains vehicle-specific fluid capacities, dipstick locations, and recommended inspection intervals.
Jumper Cables or Portable Jump Starter
Provides a backup power source if the battery fails during the trip.
Basic First-Aid Kit
Allows you to address minor injuries at the roadside while waiting for professional help.
Having your owner's manual on hand is genuinely useful-fluid reservoir locations, correct PSI ratings, and dipstick positions vary by make and model. If you no longer have the paper copy, most manufacturers make digital versions available through their websites.
The Full Pre-Trip Checklist
Work through each group in order. Mark items as you go-a printed copy kept in the glove box works well, or use a notes app on your phone. If you travel frequently, Annual Car Ownership Tasks Most Drivers Forget can help you track the broader maintenance calendar that keeps each pre-trip check faster and more predictable.
Tires
Lights and Signals
Fluids
Brakes and Steering
Interior and Safety Equipment
Emergency Supplies
Brake Concerns Require a Mechanic-Not a Delay
If you notice grinding noises, a soft or spongy brake pedal, or significant pulling to one side when braking, do not dismiss these as minor issues. Brake system problems can escalate rapidly and impair your ability to stop in an emergency. Have the vehicle inspected by a qualified mechanic before continuing any planned trip.
Before You Drive Away
Once the mechanical checks are complete, take two minutes inside the car. Adjust the driver's seat so you can fully depress the brake pedal without stretching, and set all mirrors to eliminate as much blind-spot area as possible. For a thorough look at where your mirrors fall short, see Blind Spots, Mirrors, and the Gaps Every Driver Has.
If children are traveling with you, confirm car seats are properly secured and age-appropriate before setting off. Child Passenger Safety: Car Seat Stages and Common Installation Errors walks through the US stage guidelines and the installation mistakes that are most commonly overlooked.
Finally, know what to do if something goes wrong en route. Tire Blowouts and Brake Failures: Staying in Control covers the controlled response techniques that matter most when a vehicle emergency unfolds at speed. For anything that looks like a job beyond your tools or confidence level, DIY Car Care Tasks vs. Jobs That Need a Mechanic helps you draw that line clearly.