

Key Takeaways
Summary
28 items · 45–90 minutes
Why a Move-In Inspection Is Non-Negotiable
Your security deposit is typically one to two months' rent — a significant sum worth protecting. A move-in inspection (also called a walk-through or condition report) creates a written record of the unit's condition before you assume legal responsibility for it. Without that record, you have little recourse if a landlord later charges you for damage that was there when you arrived.
Most US states have statutes governing security deposit returns, and many explicitly protect tenants who document move-in conditions in writing. Courts and small claims adjudicators routinely look for dated photographic evidence when deposit disputes arise. For a broader overview of your rights before signing, see The US Renter's Roadmap.
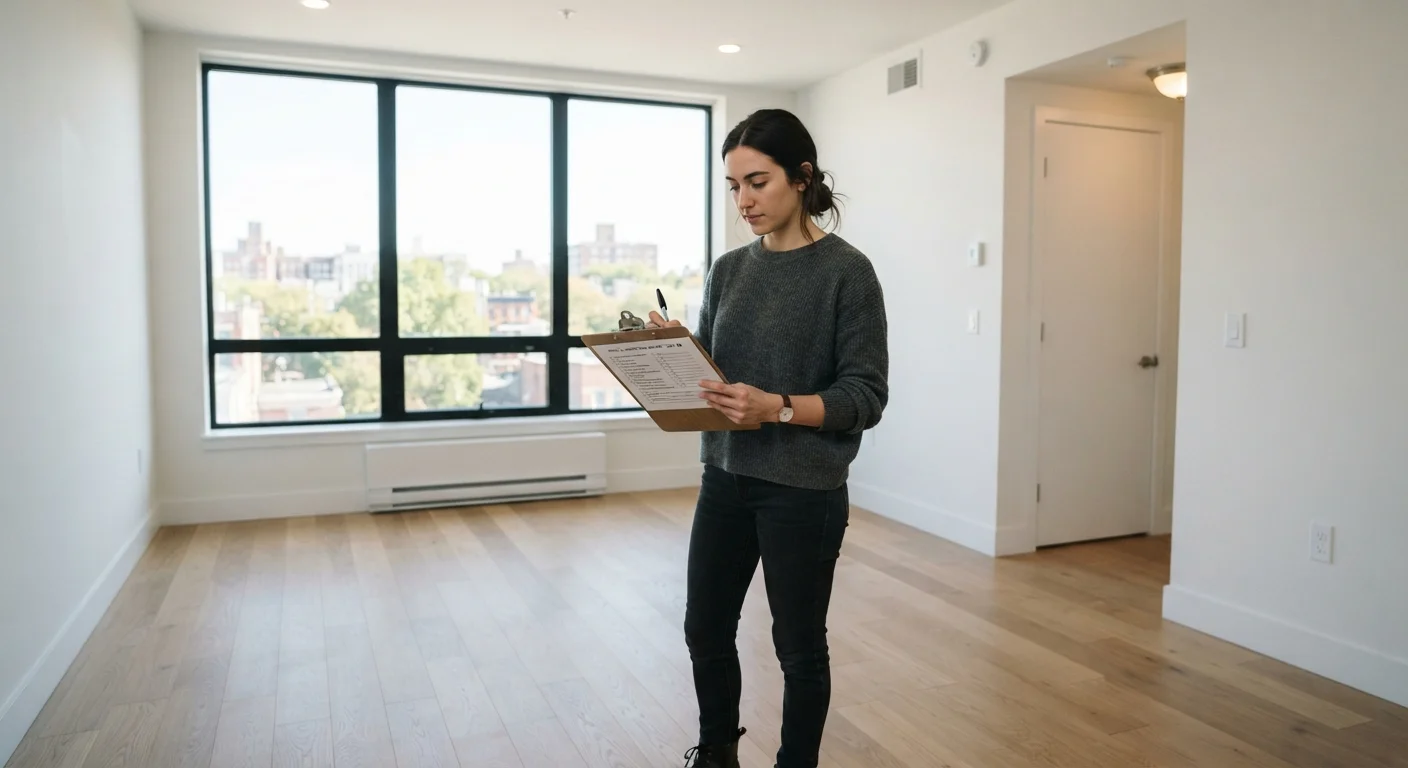
Complete this inspection before moving any furniture or boxes inside — ideally with the landlord or property manager present. Bring the checklist below, a phone or camera, and a pen.
Submit Documentation Within 48 Hours
Many state landlord-tenant statutes require tenants to submit a move-in condition report within a specific window — often 24 to 72 hours of taking possession. Missing this deadline can weaken your legal standing in a deposit dispute. Check your state's requirements and send your completed report promptly, retaining proof of delivery such as an email sent-receipt or certified mail receipt.
Tools You Will Need
Gather these items before your inspection walk-through begins.
Move-In Condition Report Form
The official written document where you record the condition of each room and item; many landlords provide one, but printable versions are also widely available.
Smartphone or Digital Camera
Captures dated photographic evidence of every area and defect you find during the walk-through.
Flashlight or Phone Torch
Illuminates dark corners, cabinet interiors, under sinks, and closet ceilings where damage is easy to miss.
Outlet Tester
A small, inexpensive plug-in device that confirms each outlet is wired correctly and functioning.
Notepad and Pen
Lets you annotate the condition report by hand and note verbal commitments made by the landlord on-site.
Room-by-Room Checklist
Work through every room and area of the unit systematically. For each item, note the condition — Good, Fair, or Damaged — and photograph anything less than good. Pay particular attention to items that are commonly overlooked at move-in, such as cabinet interiors, window latches, and exhaust fans.
Preparation
Walls, Floors & Ceilings
Doors, Windows & Locks
Kitchen & Bathrooms
Electrical, Heating & Cooling
Exterior & Common Areas
Do Not Sign a Blank or Incomplete Report
If a landlord asks you to sign a move-in report before you have had time to complete the walk-through yourself, decline politely. Signing an incomplete or pre-filled form may be treated as your acceptance of conditions you never personally verified. Always fill in the form yourself, note every discrepancy, and sign only after you are satisfied the document reflects what you actually observed.
After the Walk-Through: Submitting Your Report
Completing the checklist is only half the job. Follow these steps to make your documentation legally meaningful:
- Compile your notes and photos into a single timestamped document or email thread.
- Send the report to your landlord in writing — email creates an automatic date-and-time record. Request written acknowledgment.
- Keep your own copy saved in at least two places (cloud storage plus a local backup).
- Note any agreed repairs in writing, including the promised timeline. Verbal commitments are difficult to enforce.
If a dispute arises later, this paper trail is your strongest tool. Our guide to disputing a security deposit deduction walks through exactly how to use your documentation if a landlord withholds funds unfairly.
Taking the time now to conduct a thorough inspection also sets a professional tone with your landlord — the kind of habit that contributes to a strong rental history over time. See habits that help tenants build a strong rental history for more on that.
This article is for general informational purposes only and does not constitute legal advice. Tenant rights and landlord-tenant laws vary by state and locality. Consult a qualified attorney or local tenant advocacy organization for guidance specific to your situation.